![709081_APP-Logo White_042920-2.png]](https://knowledge.agencyperformancepartners.com/hs-fs/hubfs/709081_APP-Logo%20White_042920-2.png?width=50&height=50&name=709081_APP-Logo%20White_042920-2.png)
Once the templates have been created and saved in the Agency Library. They can be access in the customer overview page or the policy overview.
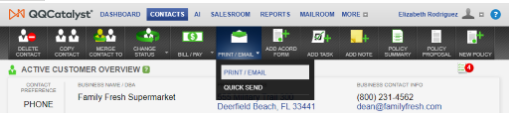
To access the email template from the customer’s account, select the print/email icon located on the Action Toolbar. Choose Quick Send from the drop-down menu.

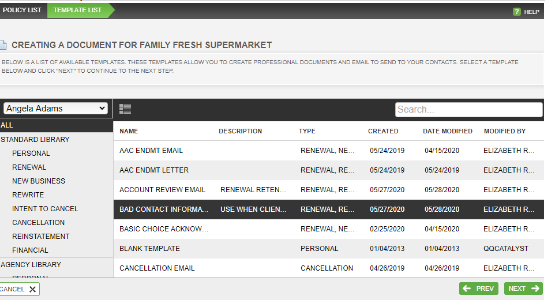
In the email, fill in the Subject line. Click on “Template” to select email template you would like to use(*).
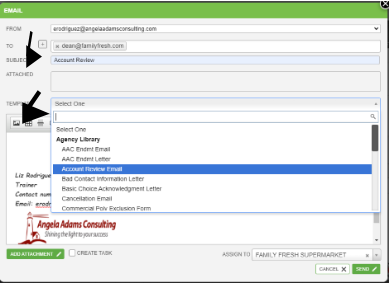
*) Because both email and letter templates are combined in the Agency Library. A good idea when a template is being created is to add the word “Email” to the name of the template. This will help the user identify which template to use in an email and which template will need to be printed as a letter.
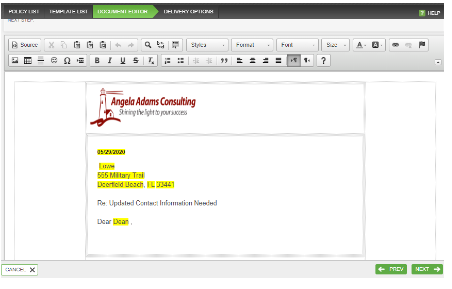
Once the email template is selected, it will populate the body of the email. Any merge fields will be highlighted and will disappear when the email is sent to the recipient.
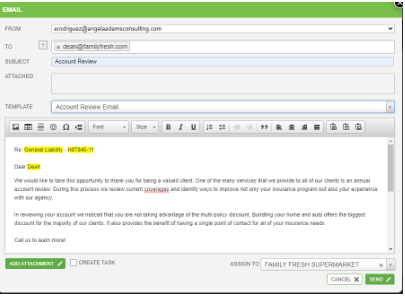
Any editing that is done to the email will not affect the template that is saved in the Agency Library.
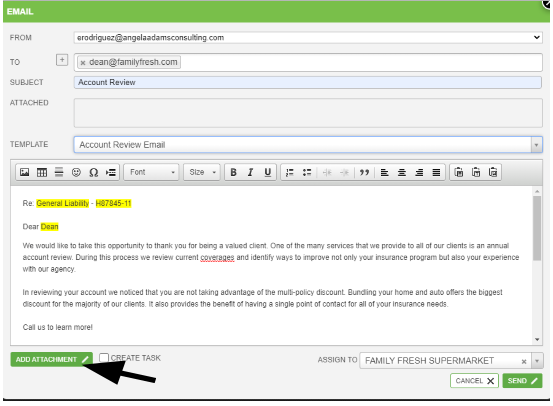
The user has the option to attach documents that are saved in the Contact’s Files tab and the ACORD Tab. Click on the “Add Attachment” option to access these tabs.
A Task can also be created from the email. Check the box marked “Create Task”.
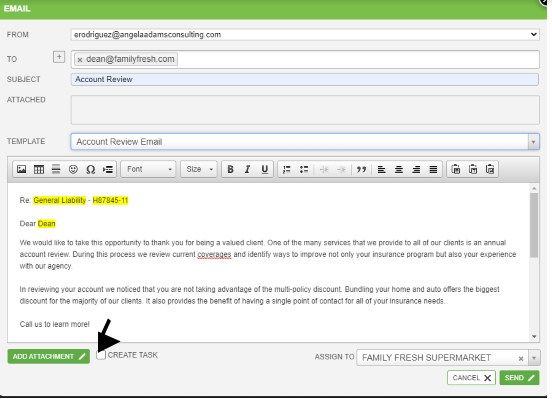
Click “Send” when you are ready to send your email. A copy of the email will be automatically saved in the “Emails” tab.
To print a letter, select the print/email icon located on the Action toolbar and select Print/Email from the drop-down menu.
If you are in the Customer Overview page for your contact, you will need to select the policy that will be associated with the letter. If you are in the Policy Overview page, you will not see this list.
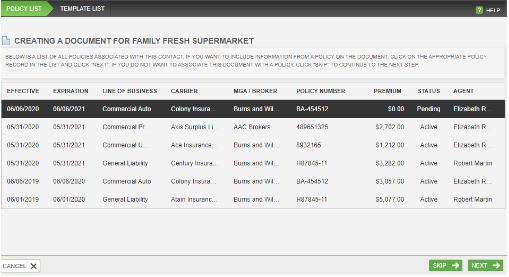
Click “Next” when you are ready to select the template.
Once the template has been selected click next to view the letter in the Document Editor tab.
The merge fields will be highlighted in yellow. Once you print this letter, the yellow highlight will disappear.
When you are ready, click “Next” to move to the “Delivery Options” tab. Add a Title to the document that will be saved in the Files tab when the letter is printed. Select “Print This Document” in the Delivery Options section. You can choose “Save This Document” if you are going to print the letter at a later time.
Click “Finish” when you are ready to either print or save the letter.