![709081_APP-Logo White_042920-2.png]](https://knowledge.agencyperformancepartners.com/hs-fs/hubfs/709081_APP-Logo%20White_042920-2.png?width=50&height=50&name=709081_APP-Logo%20White_042920-2.png)
How to find a call to be made – Pre-Assigned Suspense
Click on “Suspenses” under “COMMON TASKS”
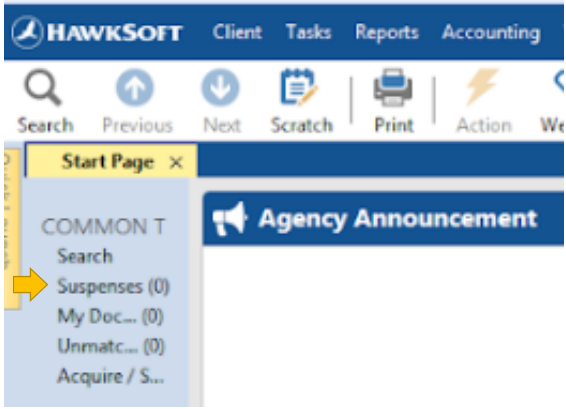
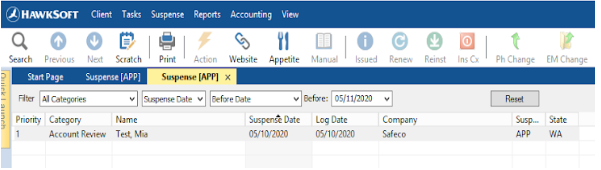
Select “Account Review” under Filter and a list of your current account reviews will open.
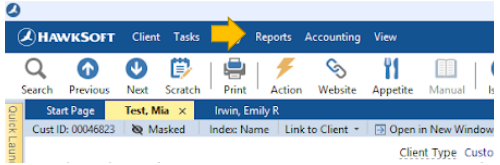
Alternatively, you can select “Reports” then “Suspense”
The “Suspense” window will open
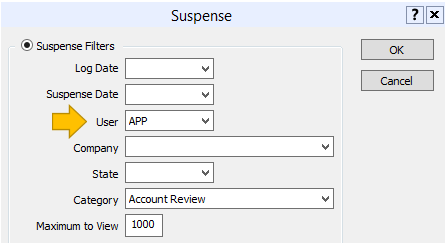
Select your initials under “User”
Select “Account Review” under “Category”
Click “OK’
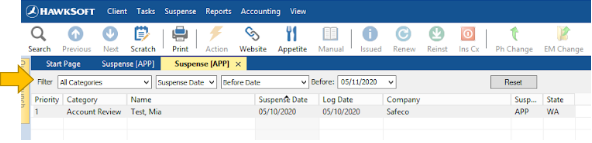
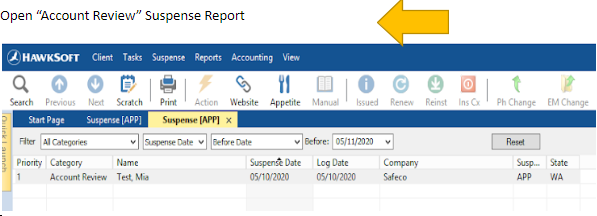
The “Account Review” Suspense Report will then open
Select “Suspense Date” and “Before Date” then enter the day after the todays date
(Example: if today is the 10th of May enter the 11th of May)
Closing Account Review Suspenses assigned at the “Policy Level”
Account Review Suspenses are assigned at the “Policy Level”
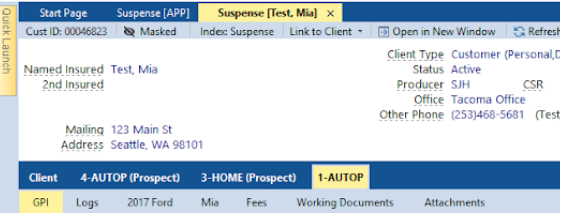
Open the Suspense
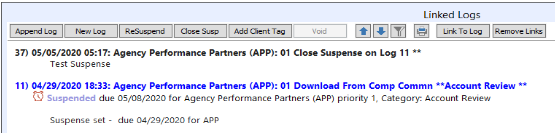
Review the previous logs on the account for an “Account Review”
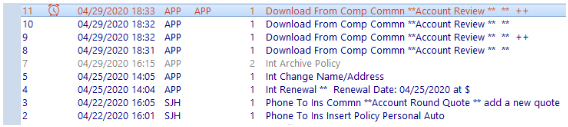
If the account has been successfully reviewed within the last 10 months
Previous Reviewed will be used to close ALL accounts that have had a successful review >10 month
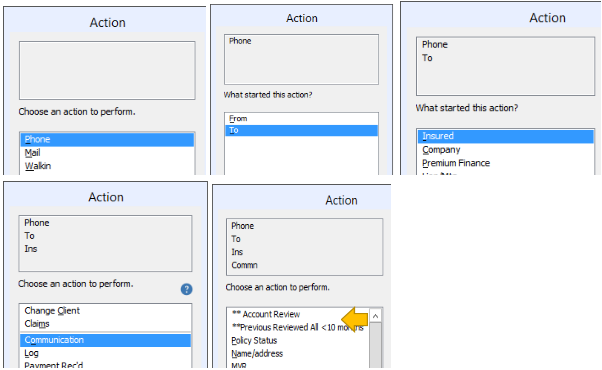
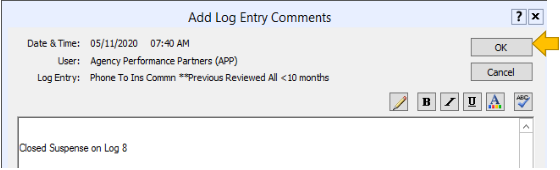
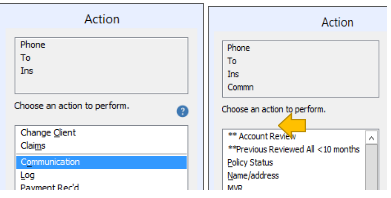
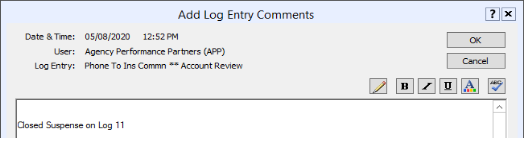
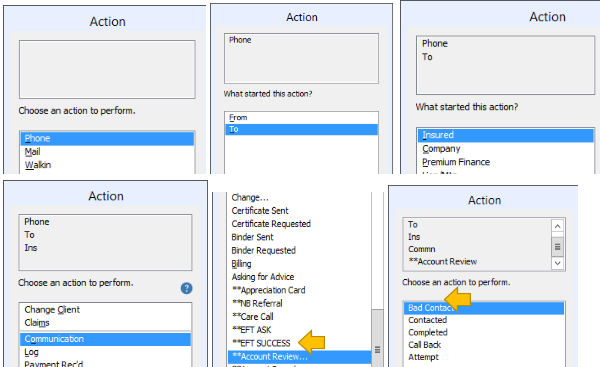
Close the suspense using the following:
-Phone -To -Insured -Communication
-PREVIOUSLY REVIEWED ALL <10 MONTHS
Then Click “OK”
If the account has not been reviewed in the last 10 months
Close the suspense that is assigned for a review with ACCOUNT REVIEW
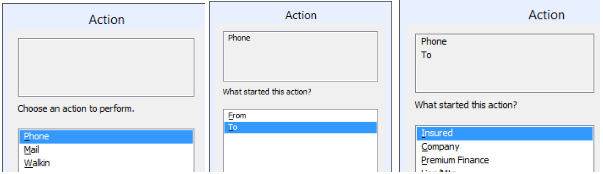
Close the suspense using the following:
-Phone -To -Insured -Communication
-ACCOUNT REVIEW
Then Click “OK”
>>If there are multiple review suspenses for the same client on the same day: Close the first suspense with ACCOUNT REVIEW and follow the steps above. Then close all remaining account review suspenses with the steps outlined for Previous Reviewed <10 Months
>>As it is difficult in HawkSoft to track the number of Renewals that are assigned to a person without auditing the daily download log or running renewal reports it easier to use **Account Review as the Activity Code for an Account Review unless the account has already been reviewed within the last 10 months in which case it would be logged as **Previous Reviewed All <10 months.
Attach and Complete the Call Sheet
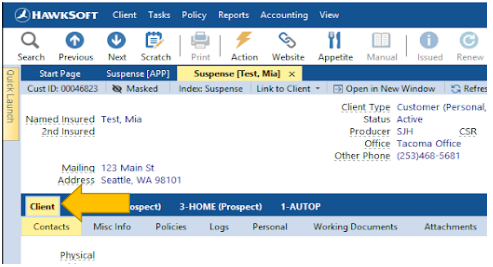
Drag and Drop the Call Sheet into the “Client” Tab
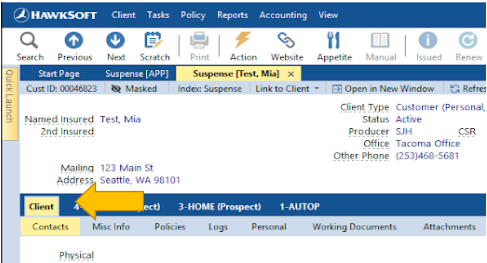
**It is IMPORTANT to rename the document with the Clients Last Name and First Name along with Call Sheet when attaching it to the “Client” tab for the first time! Failure to create a unique name may cause the incorrect file to be imported back into the client file after editing! Example: Test Mia Call Sheet
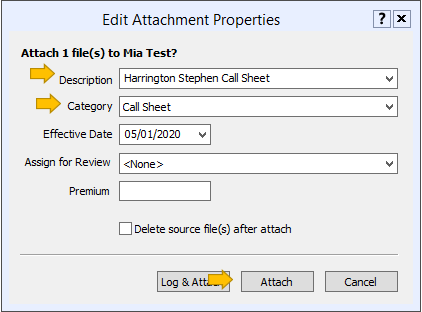
Change “Description” to a unique name**
Select “Call Sheet” from the drop down under “Category”
Then click “Attach”
Right click the attachment and select “Create Working Document”
A working copy of the document will then be added under “Working Documents”
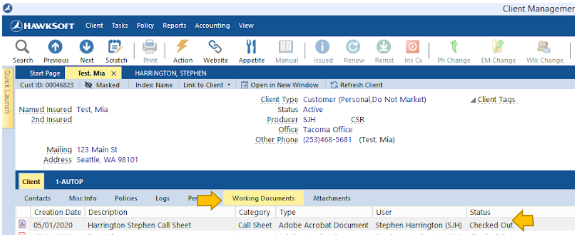
The document will show as “Checked Out” and will open in a new window
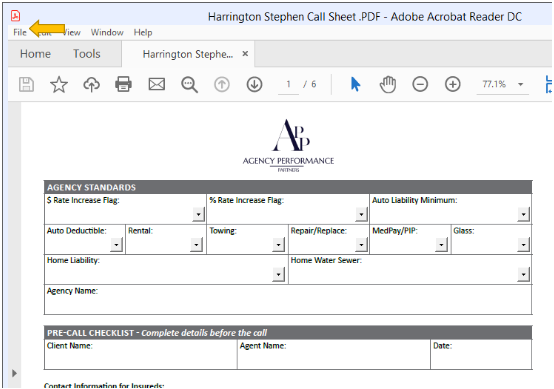
Complete the required information in the form and then click “Save As” from the “File” menu 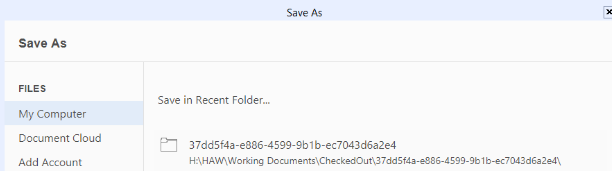
Select the default folder then click “Save”
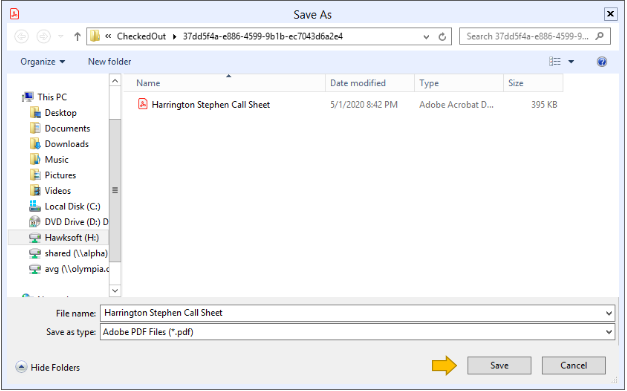
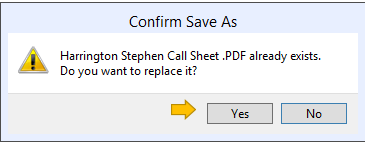
If the “Confirm Save As” folder opens, click “Yes” to replace the current document
Right Click the document again under “Working Documents” and select “Check In/Finish”
To open and edit the document again, simply Right Click the Document and select “Check Out/Edit”
Once the updated have been made, follow the directions above to save the updated copy and check the file back in.
Once all changes have been made to the document, save and check the document back in, then right click and “Copy to Attachments”
The document is now attached to the “Client” tab attachments.
THEN CALL THE INSURED
ALL Account Review Calls will be logged into HawkSoft on the “Client” Tab
Using the appropriate actions below
IF the client does not answer and you leave a Voicemail
-Click on the “Client” Tab
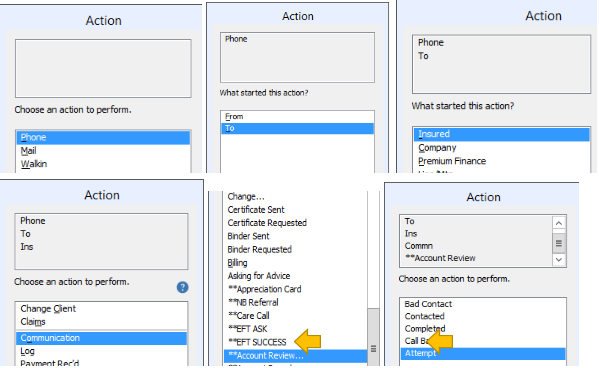
-Phone -To -Insured -Communication
-Account Review -ATTEMPTED
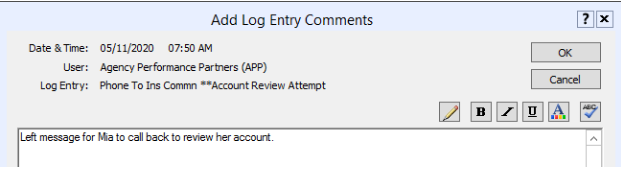
Add a log note stating that you left a voicemail.
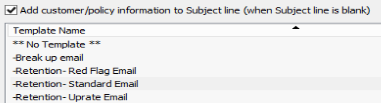
Then send the appropriate saved “Retention” email to the insured.
-Email -To -Insured -Send Email
IF all phone numbers in file are Disconnected or no longer valid
-Click on the “Client” Tab
-Phone -To -Insured -Communication
-Account Review -BAD CONTACT
Add a log note stating that the contact information is not correct.
Add a Tag to the file that the contact information is not correct.

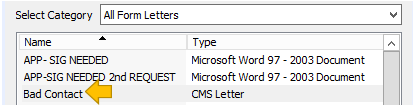
Then send the “Bad Contact” letter by email or mail.
-Mail -To -Insured -Print/Create -Lette
Attached signed application to the new policy
Follow the agencies procedure for new business entry