![709081_APP-Logo White_042920-2.png]](https://knowledge.agencyperformancepartners.com/hs-fs/hubfs/709081_APP-Logo%20White_042920-2.png?width=50&height=50&name=709081_APP-Logo%20White_042920-2.png)
Call Sheet “Working Document” Setup and Use
The purpose of the “Working Document” is to make it easy to add or edit information during the review process. Multiple people can edit and add information to the “Working Document” as long as it is “Checked In” and “Checked Out” properly. The “Call Sheet” has been designed to assess the most common items reviewed during the account review. The document can then be changed and updated an unlimited number of times until the review is complete. It is imperative to create a unique name for each “Call Sheet” during the initial attachment process.
To Add “Call Sheet” to the Attachment Categories
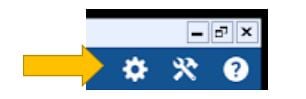
Click on the Cog in the upper right hand home screen, then select “Customize Lists”
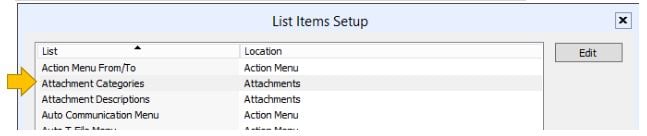
A new screen will open. You will need to select “Attachment Categories” under “List”
The “Setup” window will open

Click “New” and another window will open
Add “Call Sheet” then click “OK”
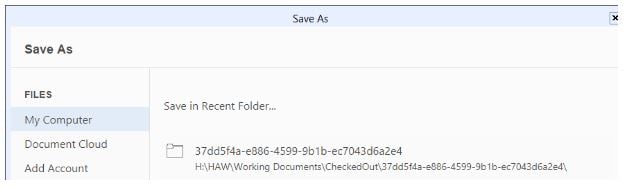
Select the default folder then click “Save”
If the “Confirm Save As” folder opens, click “Yes” to replace the current document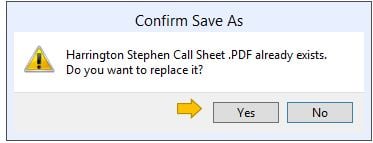
Right Click the document again under “Working Documents” and select “Check In/Finish”
To Use the “Call Sheet”
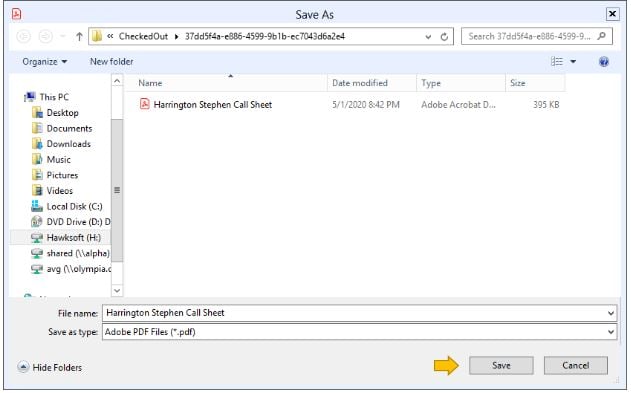
**It is IMPORTANT to rename the document with the Clients Last Name and First Name along with Call Sheet when attaching it to the “Client” tab for the first time! Failure to create a unique name may cause the incorrect file to be imported back into the client file after editing!
Example: Harrington Stephen Call Sheet
Drag and Drop the Call Sheet into the “Client” Tab
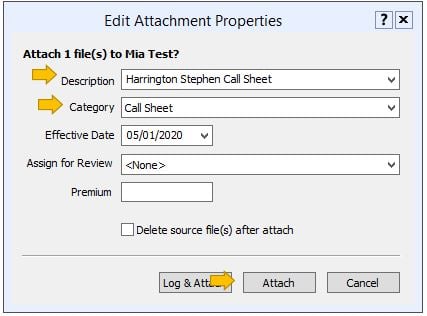
Change “Description” to the unique name listed above
Select “Call Sheet” from the drop down under “Category”
Then click “Attach”
Right click the attachment and select “Create Working Document”
A working copy of the document will then be added under “Working Documents”
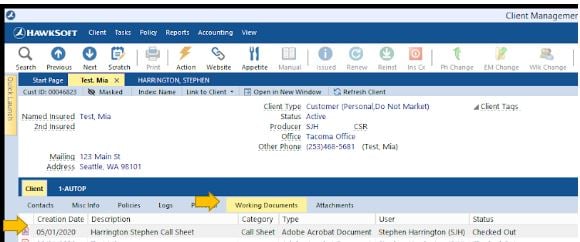
The document will show as “Checked Out” and will open in a new window
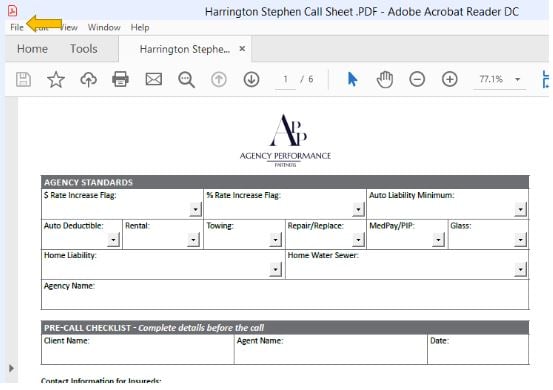
Complete the required information in the form and then click “Save As” from the “File” menu
To open and edit the document again, simply Right Click the Document and select “Check Out/Edit”
Once the updates have been made, follow the directions above to save the updated copy and check the file back in.
Once all changes have been made to the document, save and check the document back in, then right click and “Copy to Attachments”
The document is now attached to the “Client” tab attachments.